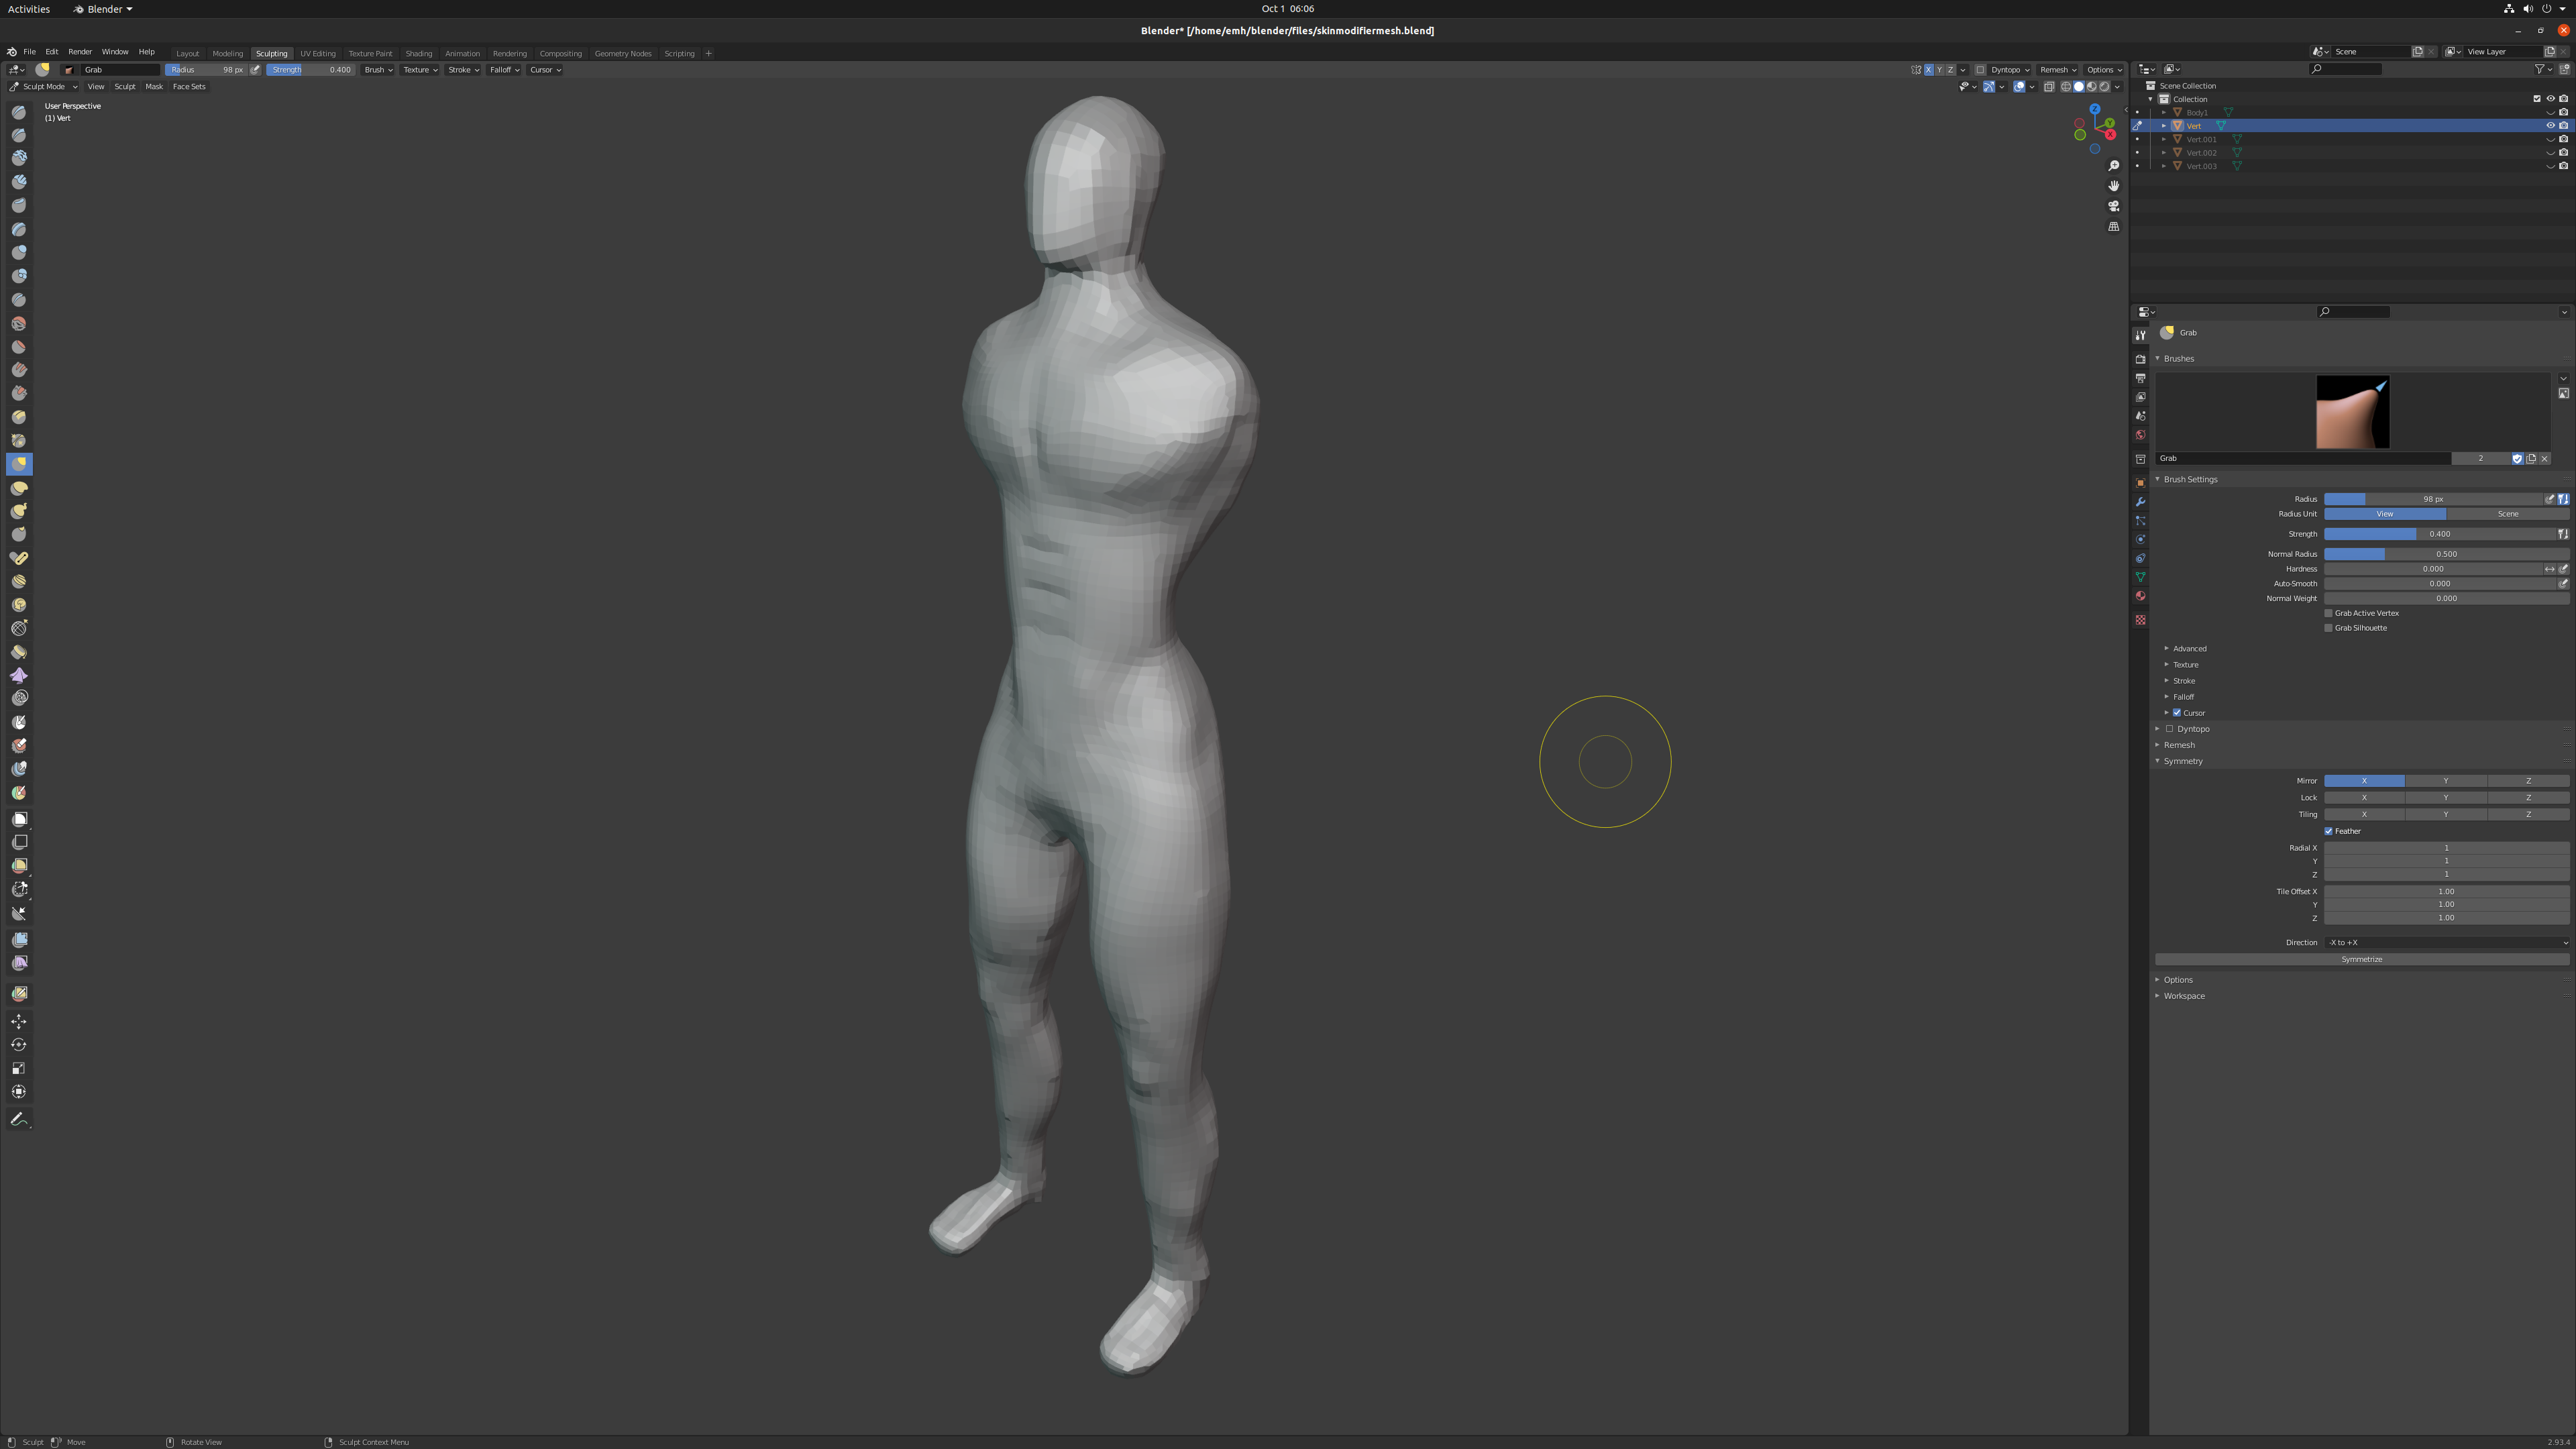
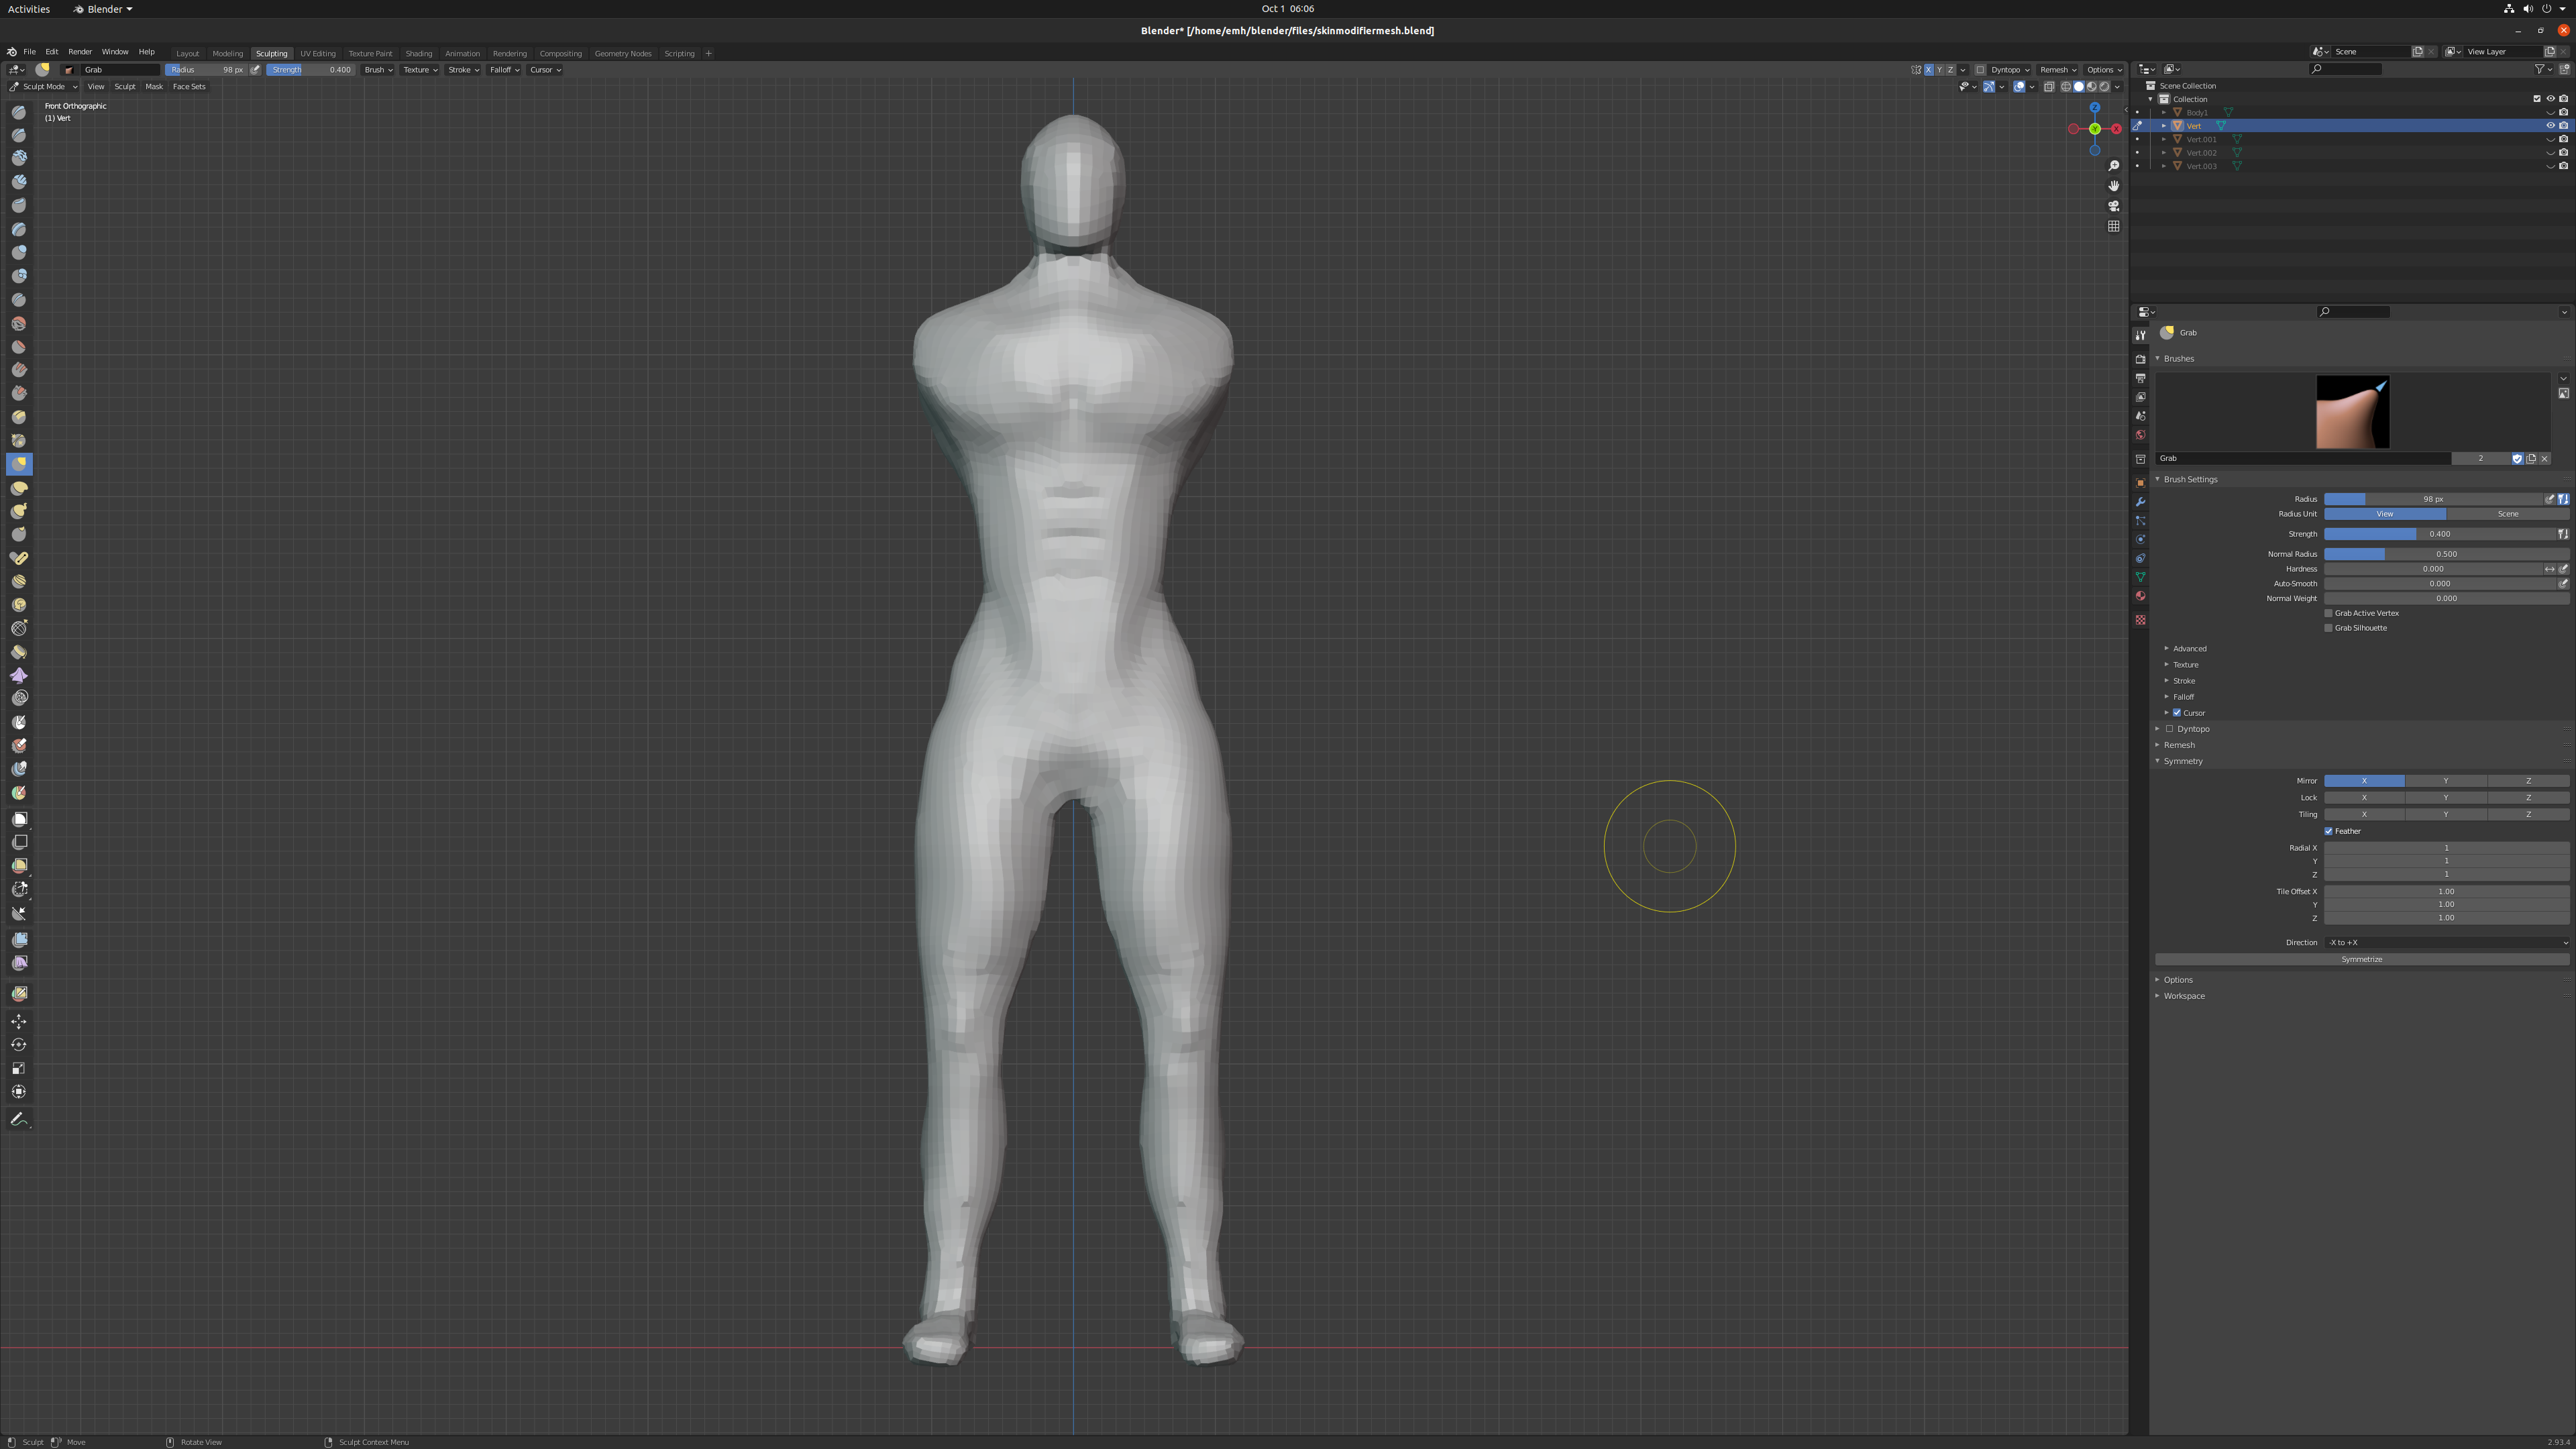
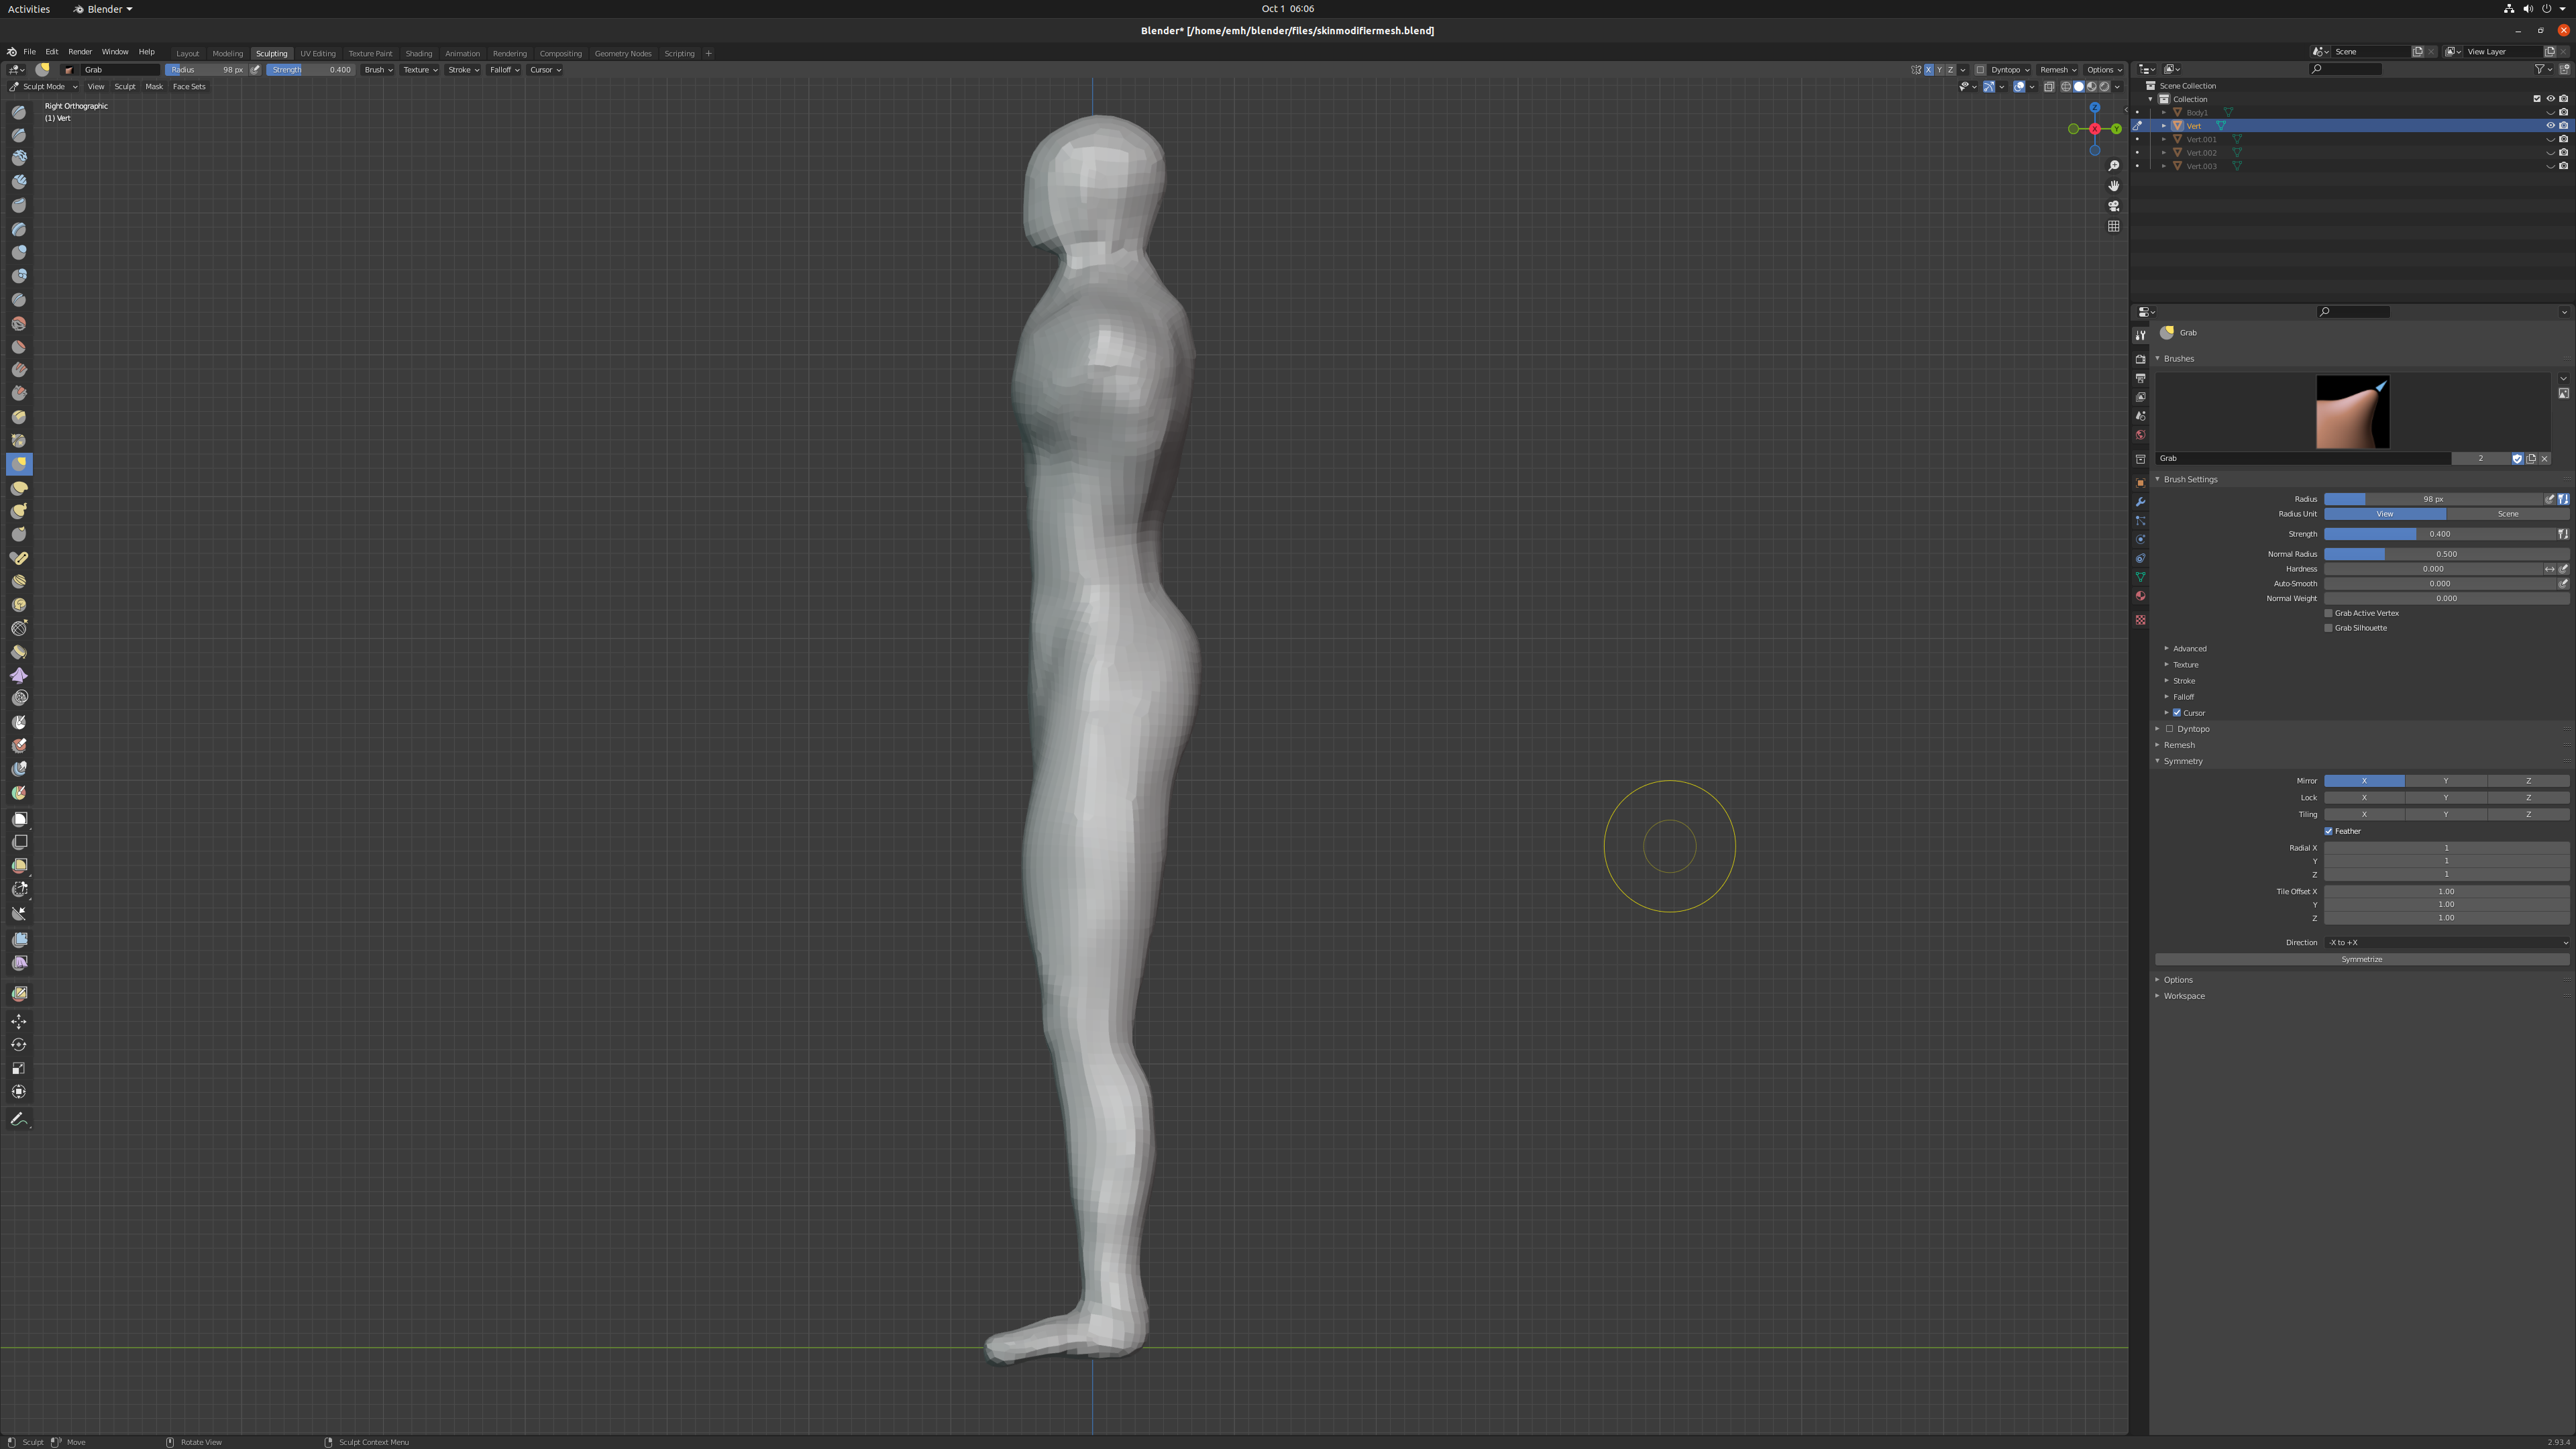
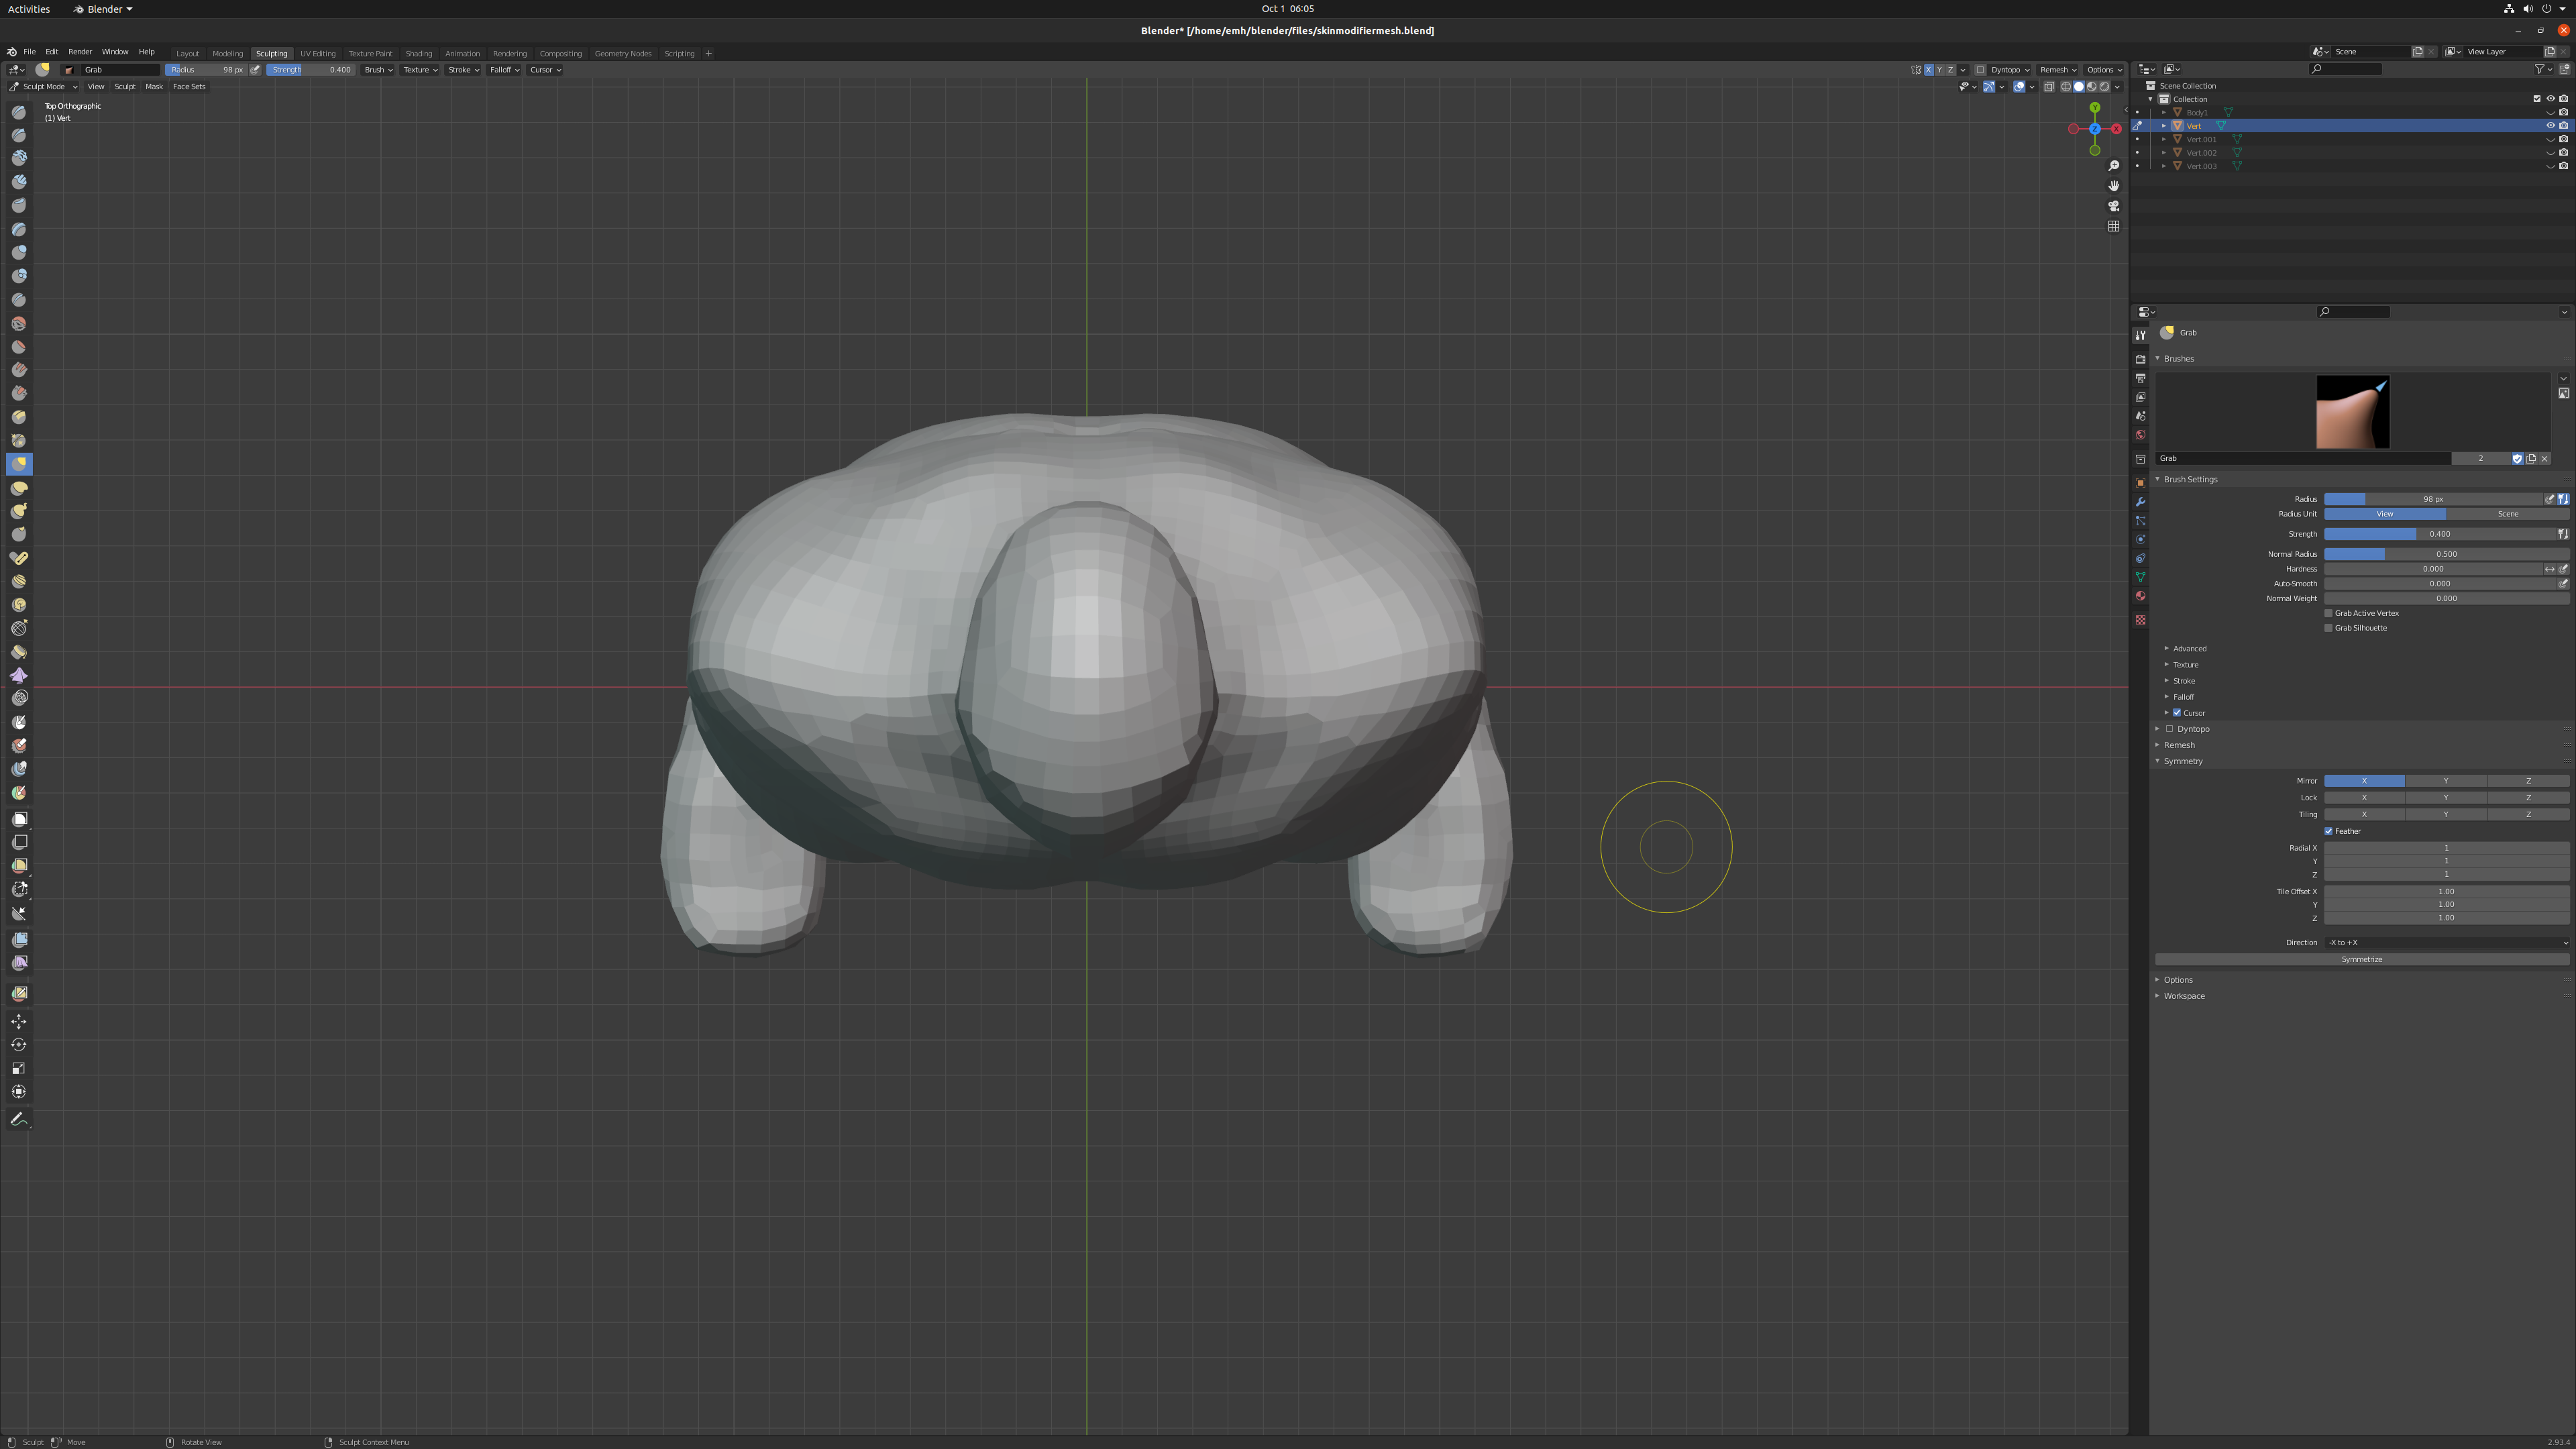
3D Fun 😎
More awesome vibes for your day ahead, and hopefully you guys get to have some fun along the way.
This post is about how I have learned to create base-meshes for characters and lead into sculpting final characters in Blender. Let's see...

The Technique
This method begin with only simple vertices as opposed to mesh objects. The single vertices are then extruded/extended to form key lines of the anatomy. A skin modifier, as well as mirroring and surface subdivision modifiers, are then added once the proportions are setup appropriately. This was by far the easiest starting method, and the quickest.


Remeshing
By default, the modifiers generate a very low-poly result at the beginning. Once you get into the sculpting workspace, you can then do a "re-meshing" which adds a lot of detail points for sculpting. This base mesh is then adjusted during the sculpting process which can help avoid the need for re-topology.
Clothing the Character
Dressing a character involves developing separate assets that can then be interchanged on each character. The process is not very complicated but takes time to get the final result to look the way you like. But from this point on, the character base-mesh is ready for sculpting to form whatever type of final form you need (with the arms of course, not added here for my own reasons). Hopefully this shows the process in a general sense, and gets you thinking that you too could have some fun with this, yes?
Stay awesome,
EMH

